
Which Cricut Machine Should I get??
Loads of people ask me which machine they should purchase and here's my general rule for picking out a machine that is right for you.
The truth is they are all the same as far as ease of use, in my opinion. So it doesn't matter so much if you are a beginner or not.
Ask yourself what you'll be using the machine to cut and create most?
Obviously, I specialize in teaching stencil and sign making so the video above is connected to creating that type of project but I've included some other important info too. This is an older video and may not include all the newest models of machines but all the info is still very applicable in 2025.
In a nutshell, if you are going to cut any kind of vinyl, or even mylar for stencil making and other projects any of the Cricut Explore or Maker family of machines will do that and more. They will also cut paper and lots of other materials.
If you want to do a lot of intricate paper cuts and cut fabric, I suggest any of the Maker models of machines....
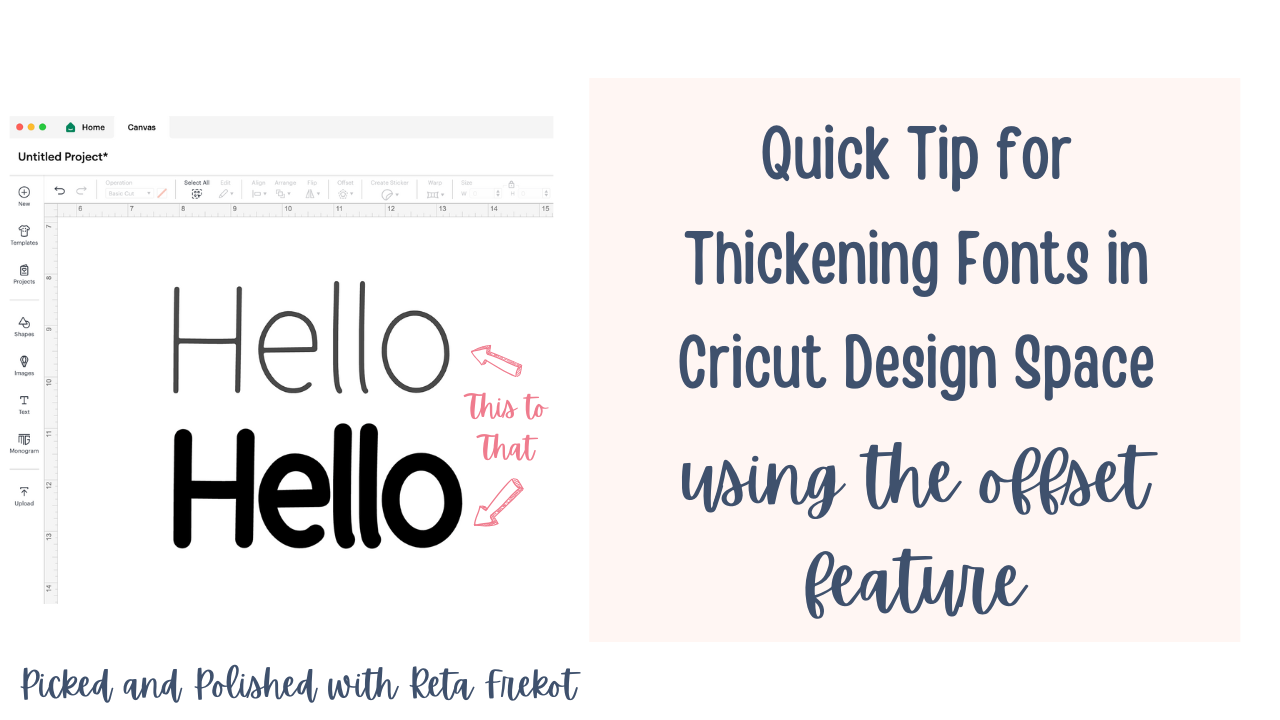
How to Thicken Fonts in Cricut Design Space Using the Offset Feature
When working with stencils in Cricut Design Space, one of the most common issues crafters face is finding the perfect font — only to realize it’s too thin to work well for a stencil. Thankfully, there’s an easy fix using the Offset feature.
Let’s walk through how you can thicken a font in Design Space and make it stencil-ready.
Choosing Your Font
Suppose you’ve picked a font like BFC Autumn Woodland (available in Cricut Design Space Access), and typed out a word — let’s say, “hello.” You love the style, but it’s just not quite thick enough for your stencil project.
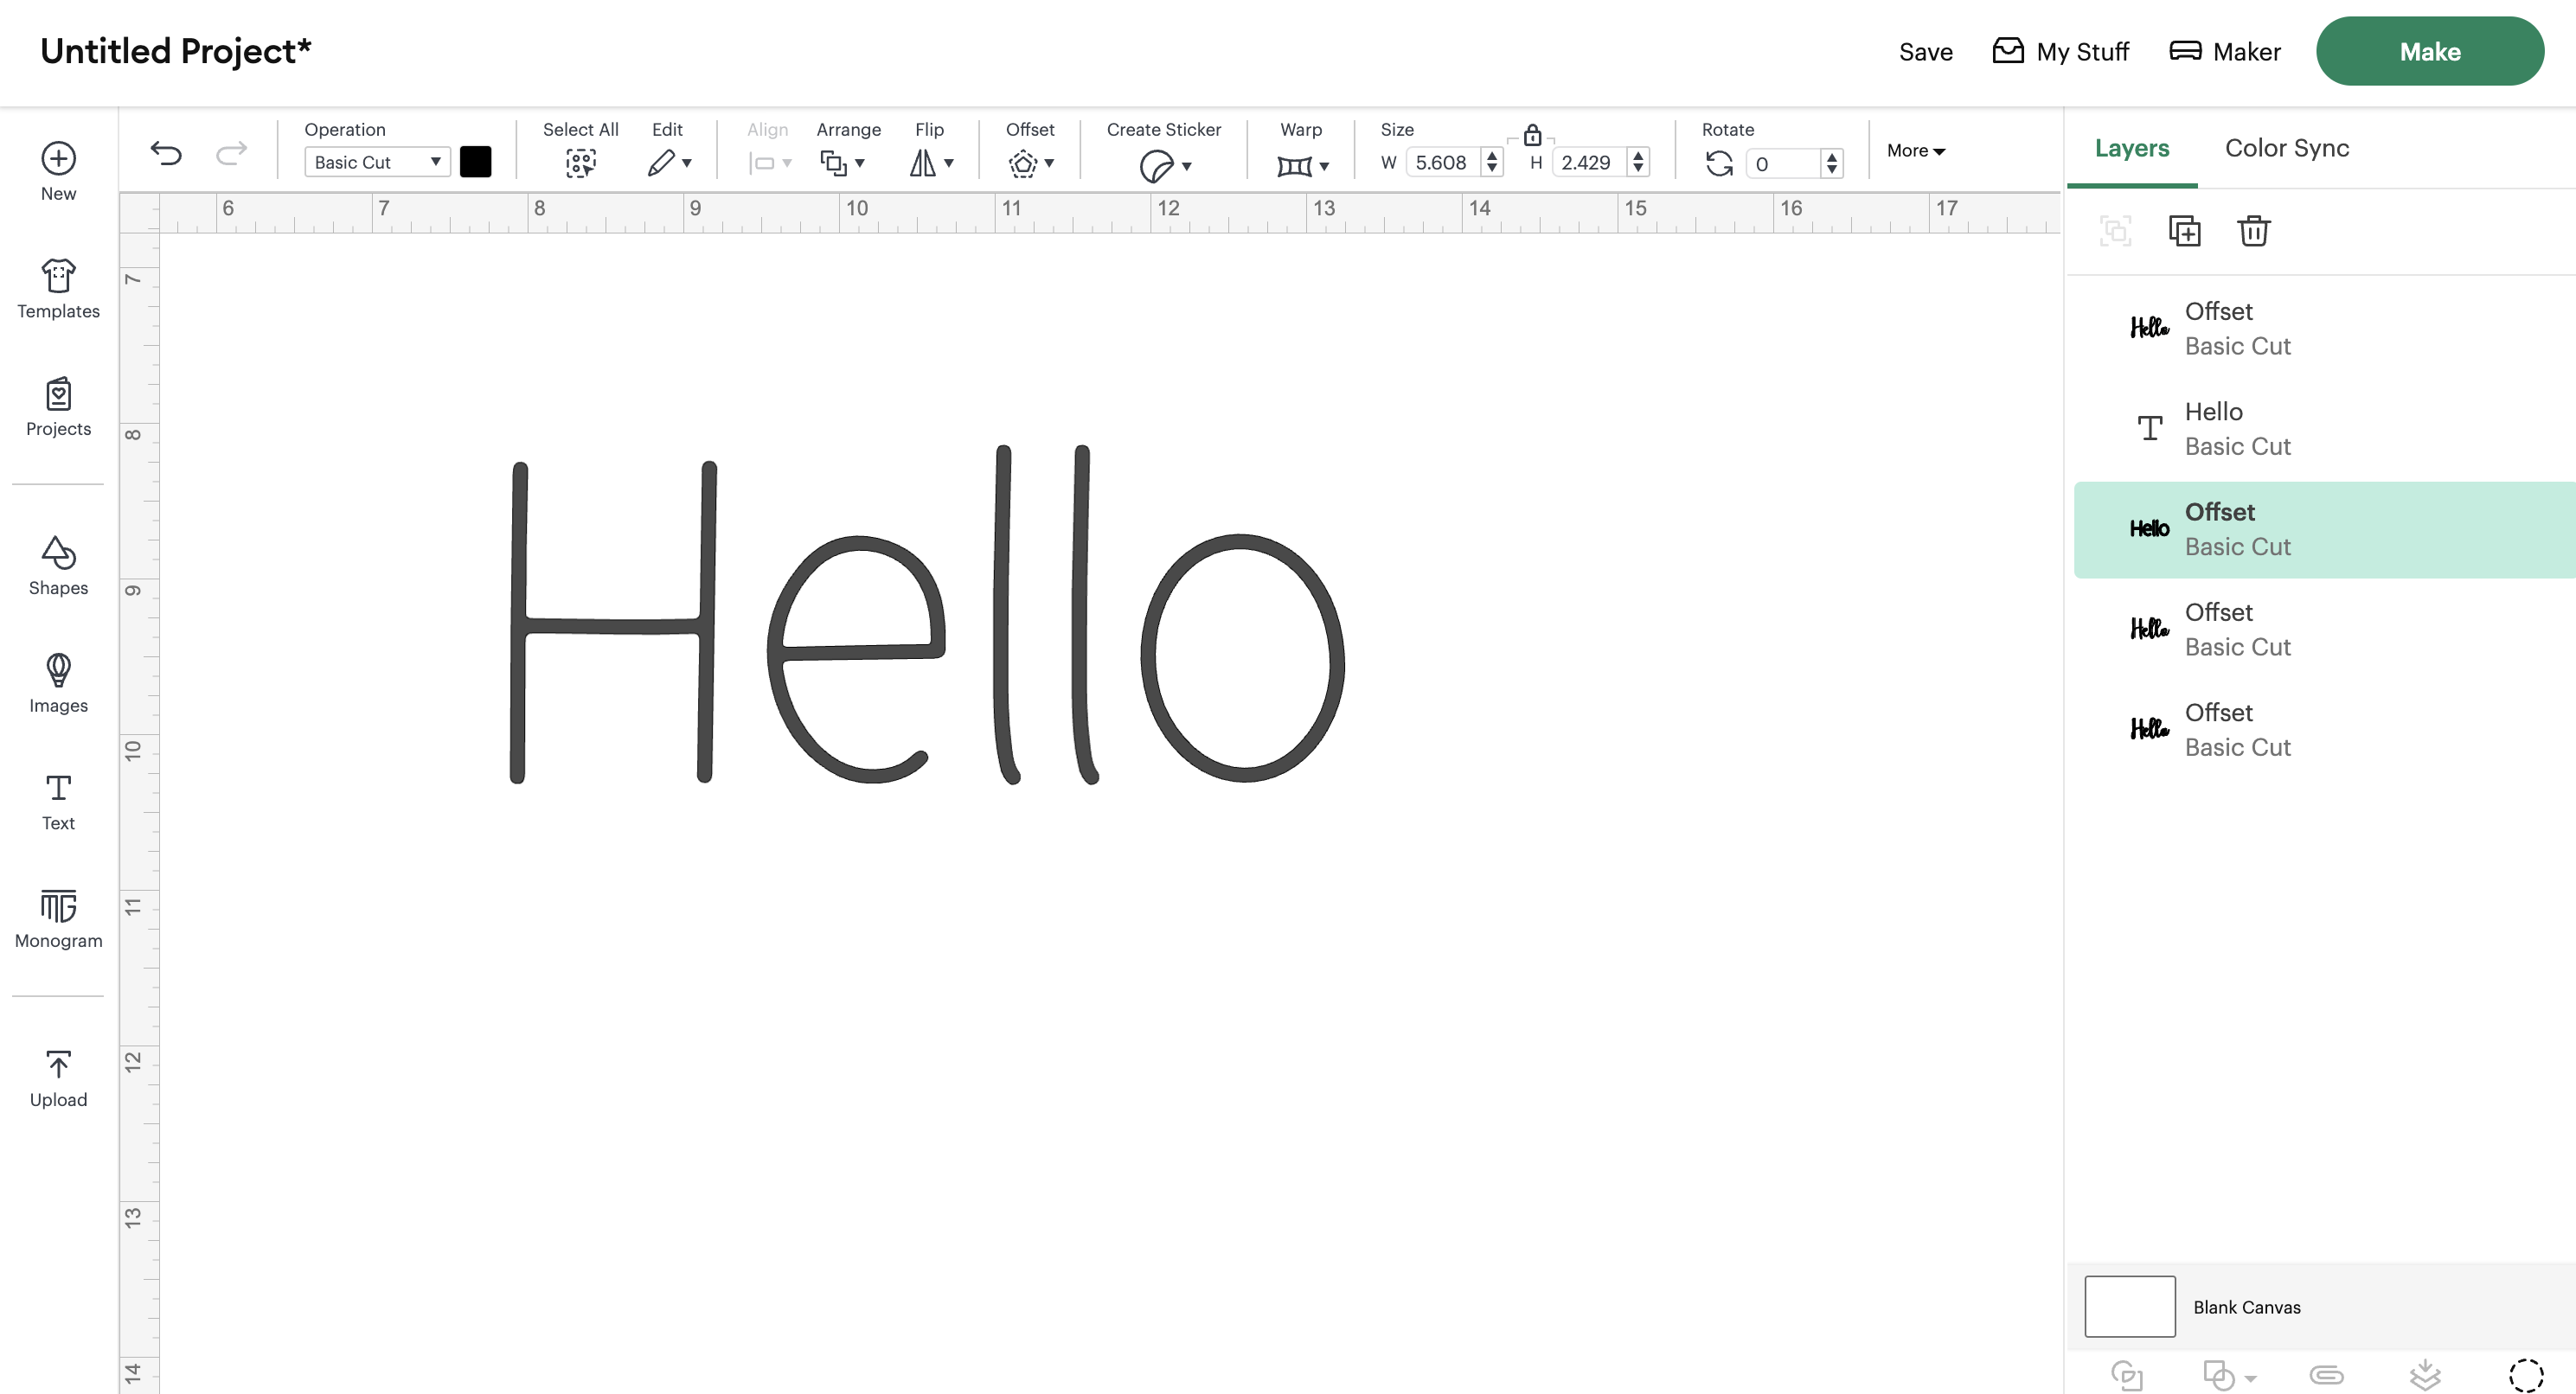
Caption: The word “hello” using a thin font before applying Offset.
Step-by-Step: Using the Offset Tool
-
Type out your word using your selected font.
-
Select the text, then click on the Offset button in the top menu.
-
Adjust the offset:
-
Use the slider or type in a numerical value manually.
-
Choose rounded or square corne...
-
The Simple Things You Need To Start Your Cricut Sign and Stencil Making Journey
It's easy to get overwhelmed by all the materials you might need but I'm sharing my tried and true few with you today!
Let me help you save lots of money, time and frustration when you are starting your Cricut stencil and sign making journey.
Many times, I find that people aren't sure where to start with materials or they've purchased what SHOULD be the right material combinations but they just DO NOT work the way they were intended to.
It's not your fault. There are just too many choices!😫 Luckily, less is more and you only need a handful of things to get going right away with beautiful results.
🤔You might think it's something you're doing wrong but the truth is that it's likely the wrong materials or combo of them that you are using. Check out the video above to get super clear on what you need and what you don't.
Trust me...I've taught thousands of crafty people how to do this and they are always amazed what a difference the RIGHT materials make.
Also, I thought you ...
Set up your Cricut for sign making in 5 minutes or less...even if it's still in the box!
It's time to make friends with your Cricut machine so you can start creating the signs you've been dreaming about making to give as gifts, hang in your home or even to sell.
Follow the instructions in my super short video above because it's simpler than you might think. Finally, set it up with confidence in a way that will have you wanting to use it over and over again.
Step 1. Clear a small space on a table or desk for the machine and your mat
Step 2. Make sure the machine has at least 10" behind for the mat to pull back and forth through the machine
Step 3. Fuzz your mat
Step 4. Learn what the buttons are for...(super simple thankfully!)
❤️Reta


Why Cricut Stencil Making & Sign Painting Confidence Is Overrated
Waiting until you are super confident using your Cricut machine to cut stencils or paint signs is not only an overrated goal but is also holding you back from creating SO many gorgeous signs, porch leaners and door hangers like Babs the Bunny up there ⬆️.
That voice telling you that you'll do it when you feel more confident is holding you back because the only thing that gets you closer to feeling more confident is just doing that project, practicing all the steps, rinse & repeat.
Here's some really good news...You don't have to be a super confident painter or hand lettering expert to be an artist...believe me! I would not consider myself a freehand painter and my shaky hand (neuropathy from chemo) would not behave if I wanted to hand letter something either. Being able to design and use svg stencil designs was a game changer for me! It gives me the shapes to start with and then if I want to add details and layers on top, I can using very simple painting techniques.
Take my ne...
When Simpler is Better-Create a Reverse Stencil for Valentine's Day

Sometimes, simpler is just better...especially when you are first learning something new. That's why I love creating signs with reverse stencils. It is such a simple concept. Take any shape or silhouette cut image on design space like a heart, shamrock, cupcake, daisy, etc. and cut a stencil with your Cricut using 631 oracal removable vinyl.
In my example, I just painted a board with stripes using various chalk paint colors and some tape.
Next, instead of using the stencil part of the vinyl, you just remove the inside shape of the vinyl and apply it to any background that you've painted. Next, paint over that with a contrasting color (I chose white) and viola! You've got a diy sign which is especially exciting when you are first learning because that immediate gratification is often what will give you the confidence to do another project and on and on that goes until you're obsessed with how fun the process is and you're barely thinking about what steps you need to do to creat...
ONE Simple Cricut Organizational Tip
Full disclosure here crafty friend,
I'd be lying if I didn't tell you that sometimes I feel like the pot calling the kettle black when I give crafty organization tips 🤣
It only takes me approximately 2.2 seconds to turn my organized space into a hot mess express when I'm ACTUALLY creating a stencil project with my Cricut and painting signs 🎨
But it sure does help to have some great tips for set up so when I do want to dive in and have some crafty fun, I can get to it straight away!
I remember dreading the start of a sign project because I knew that meant clearing space to get going. I'd procrastinate on creating gorgeous projects because I felt overwhelmed about not having space to lay down my mat to start cutting my stencils.
I had to spend time shifting things around and it always felt hectic. The problem is that I LOVE to use my Cricut and create stencils, painting signs, door hangers and porch leaners so I knew I needed a better way to set up my space.
My house is the s...
What's the Difference Between a Vinyl (one time use) and a Mylar (multi-use) Stencil Design?
Have you ever wondered what the difference is between a design for a vinyl (one time use) stencil vs. a mylar (multi-use) stencil?
Whether you are using a Cricut or another type of cutting machine, those two materials are different and they require different types of designs in order for them to be cut and used successfully for your gorgeous DIY signs like this one below. This is on of the "perfect starter projects" inside the DIY Decor Makers membership and it's a great project to learn how to make both vinyl and mylar stencils for. The size is smaller than a 12" x 12" Cricut mat so that allows for easy sizing and mylar often comes in 12" x 12" sheets whereas vinyl comes in a 12" wide roll of varying lengths.

I'll keep it super simple and so you know how to spot a vinyl stencil design versus a mylar material stencil design from a mile away and won't ever feel unsure again.
Mylar- plastic type material that is a reusable material that does not stick to the surface and requ...
4 Reasons Your Stenciled Sign Didn't Turn Out How You Hoped
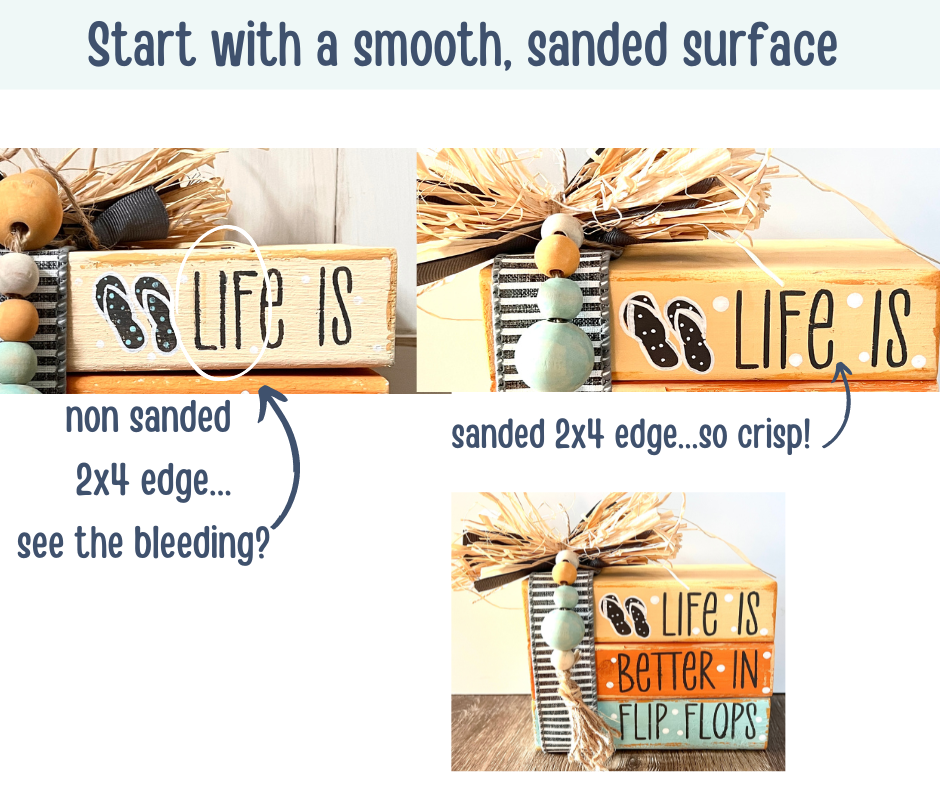
Are you trying to create beautiful signs with your Cricut but keep getting bleeding under your stencils? You are not alone! There’s nothing more frustrating than working really hard on a sign project using vinyl, stencil vinyl, or mylar, and then getting finished and seeing that you have lots of bleeding and touch ups to do. Today I’m sharing the four main reasons that you’re getting bleeding under your stencils and what you can do to prevent it!
- The surface is too bumpy.
If you are just starting out with sign making and want to be successful right out of the gate, it’s really important that you start with a piece of wood that is pretty smooth in general. If you do find yourself creating a sign on a slightly bumpy surface, keep reading to learn how you can still avoid the bleeding.
- You’re using the wrong type of vinyl.
A common mistake beginners make is choosing Cricut stencil vinyl because they think, “I have a Cricut, and I want to make a stencil.” Makes sense right...
25 Sayings to Use for Your St. Patrick’s Day Cricut Projects
25 Sayings to Use for Your St. Patrick’s Day Cricut Projects
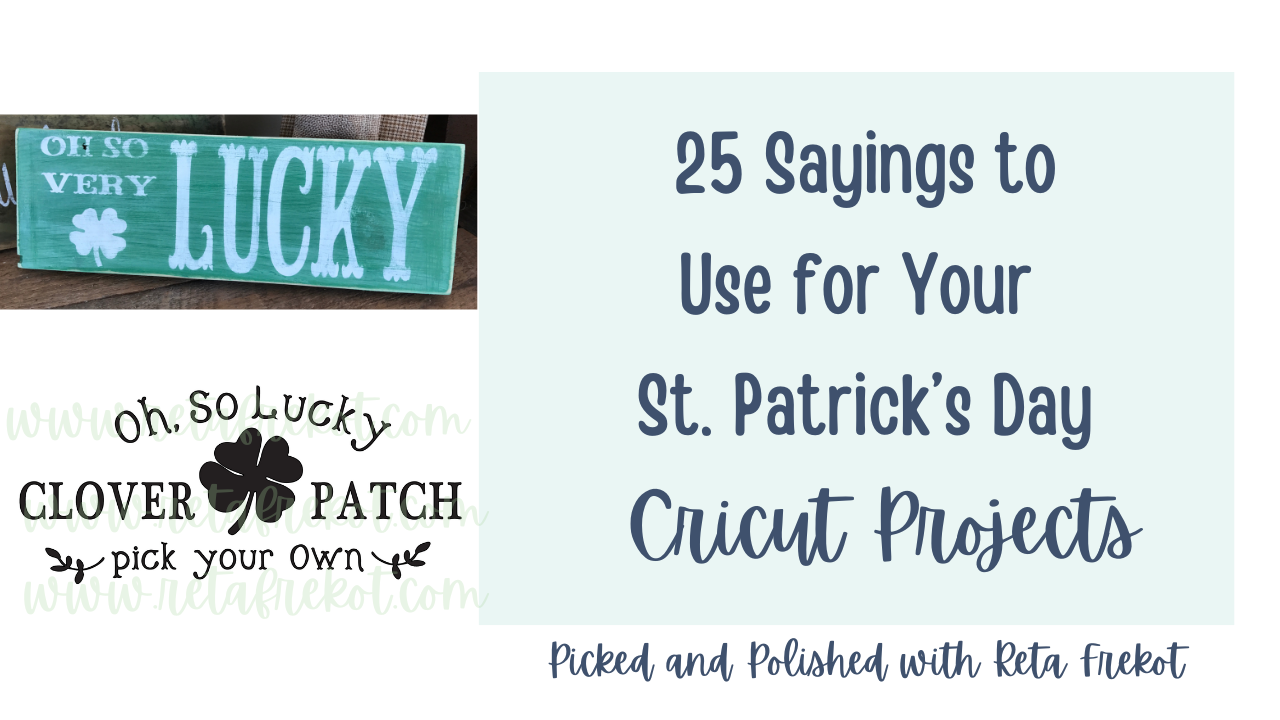
Feeling happy-go-lucky? St. Patrick’s Day is right around the corner and today I’m sharing 25 sayings and quotes to inspire your next cricut project. Add one of these sayings to a Cricut sign with some Irish green paint and shamrock stencils for instant DIY St. Patrick’s Day decor!
psst...If you are a member of the diy decor makers membership, you can find that "oh so lucky Clover Patch" svg in our svg library😉
SHORT ST. PATRICK’S DAY SAYINGS
- Happy Go Lucky
- Oh, so lucky-clover patch-pick your own
- Let the Shenanigans begin!
- This home is built on love and shenanigans.
- Irish wishes and shamrock kisses
- Let the shenanigans begin!
- May the luck of the Irish always be with you.
- Kiss me, I’m Irish!
- This house runs on shenanigans and malarkey.
- Wishin’ you a pot o’gold and all the love your heart can hold.
- Shake your shamrocks!
- May you find gold at the end of the rainbow.
- Never iron a four-leaf clover, you don’t want ...
Author

Reta Frekot
Welcome!
I'm so happy you are here! I help women just like you how to use a Cricut Machine to create stencils and painted signs WITHOUT feeling afraid to get started, so you can make custom stenciled signs to decorate your home, give as meaningful gifts or even to sell!

Affiliate Disclosure
I participates in various affiliate programs. If you click on a link and end up making a purchase from that site, we (me and my little family) may receive a small compensation, at no extra cost to you. I share these resources because these are products I use and love and I think you'll love them too!
Recent Posts
