
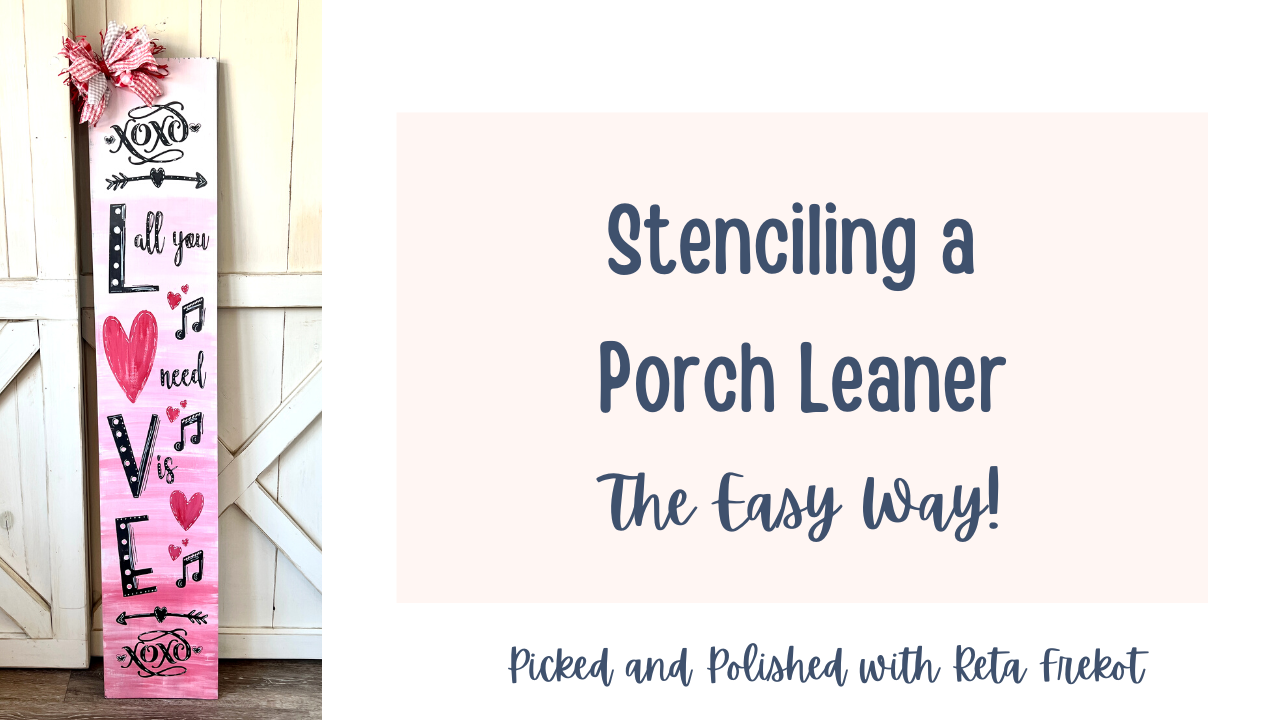
Stenciling a Valentine Porch Leaner the Easy Way!
After you get the basics down on how to create a stencil for a small sign or door hanger, with a Cricut or cutting machine, chances are you'll be tempted to give a porch leaner a try! These are loads of fun to make for all seasons but they can be intimidating because of the size. My typical porch leaners are about 10" wide x 4 feet tall.
Valentine’s Day is quickly approaching and what better way to welcome guests into your home during this season of love than with this adorable porch leaner? This is definitely a project you can tackle with a little bit of patience and some gentle guidance. I love creating beautiful stenciled signs with my Cricut and sharing helpful tips so that other women can do the same.
PSST...If you are a DIY Decor Maker member, this full tutorial is inside your member site❤️
MATERIALS LIST
Pine Board 1" x 10" x 48"
Sanding Block
VINYL STENCIL MATERIAL
- Vinyl Large roll 12” x 150 ft-long-https://amzn.to/2VJ43p1
- Vinyl Ease Paper Transfer Tape- https://amzn.to/3ao7OEc
- Standard Grip Mat-Green
- I use a 12” x 24”because I like to have the versatility of doing bigger cuts but the 12” x 12” is fine for most projects. You can find the 24” mat here-https://amzn.to/39xH7Nv
- Basic Weeding and Prep tools https://amzn.to/3ONhgWQ
If you don’t have weeding tools just yet, you can use a toothpick or your nails to weed these.
a desk light and hard surface to weed vinyl stencils on are helpful
PAINT
- Chalk based or thicker Acrylic Paint like folk art. Chalk Based Paints are thicker and create less bleeding. Walmart and craft stores carry brands like folkart chalk paint and waverly (going out of stock there) chalk based paints, which are fine.
- Colors I used were:
- Ink (black) by Waverly for the basecoat
- Steel (medium grey) by Waverly
- White by Waverly
- I used folkart acrylic paint colors “Bright Pink” & “Lipstick Red” to mix my dark pink and then lightened that with White by waverly to get a lighter version of pink.
- I also mixed waverly ink with waverly white to get the dark color grey I wanted
*Don’t be shy about adding touches of acrylic to chalk based paints. They are both in the “acrylic family” so they mix well.
OPTIONAL- Posca Paint Pens for some quick and simple detailing. I used white and black
You can order them HERE
Variety of craft brush sizes-I like the Royal and Langnickel crafters choice 15 piece white taklon paint brushes from Walmart but it’s great to have a variety of sizes including some fine point brushes. You can Use what you have on hand:)
- 3” Brush or larger for the overall surface and blending
- variety of craft brush sizes 1” all the way to fine point detailed brushes
- Mister or water spray bottle
- Hair dryer or Heat Gun for fast dry time
- Water cup for brushes
- Scissors
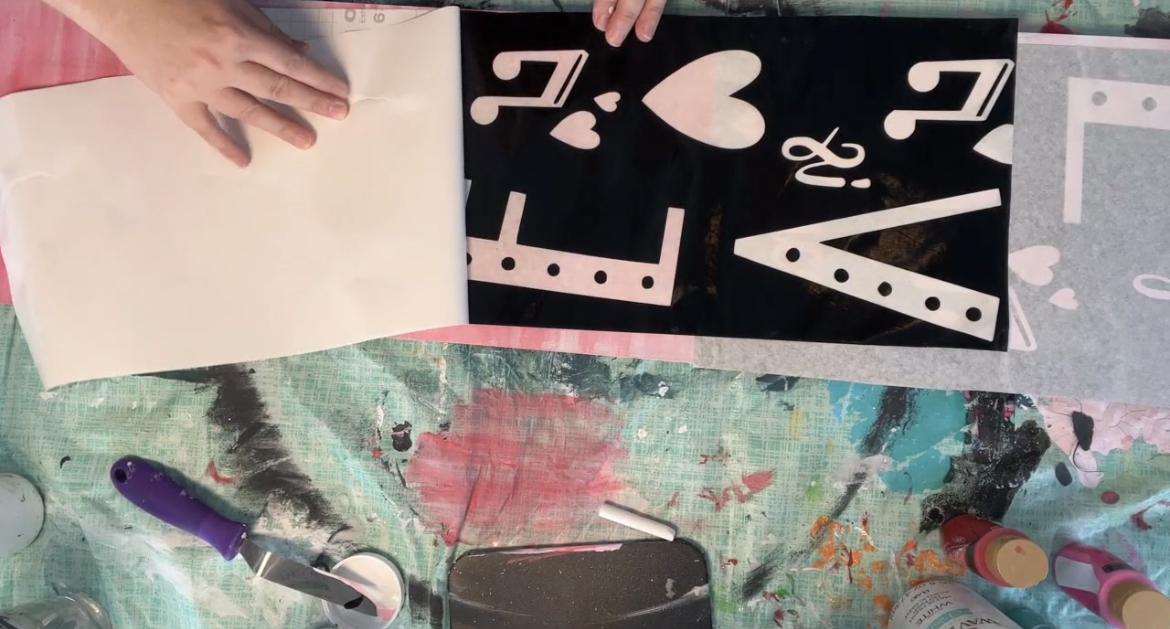
Whenever I'm designing SVG's like this one for my DIY Decor Maker Members, I always consider what size board I'll be working on first. Since this was a porch leaner size, I knew I would need to find an easy way for them to slice the design apart so they can cut it on either a 12" x 12" mat or a 12" x 24" mat.
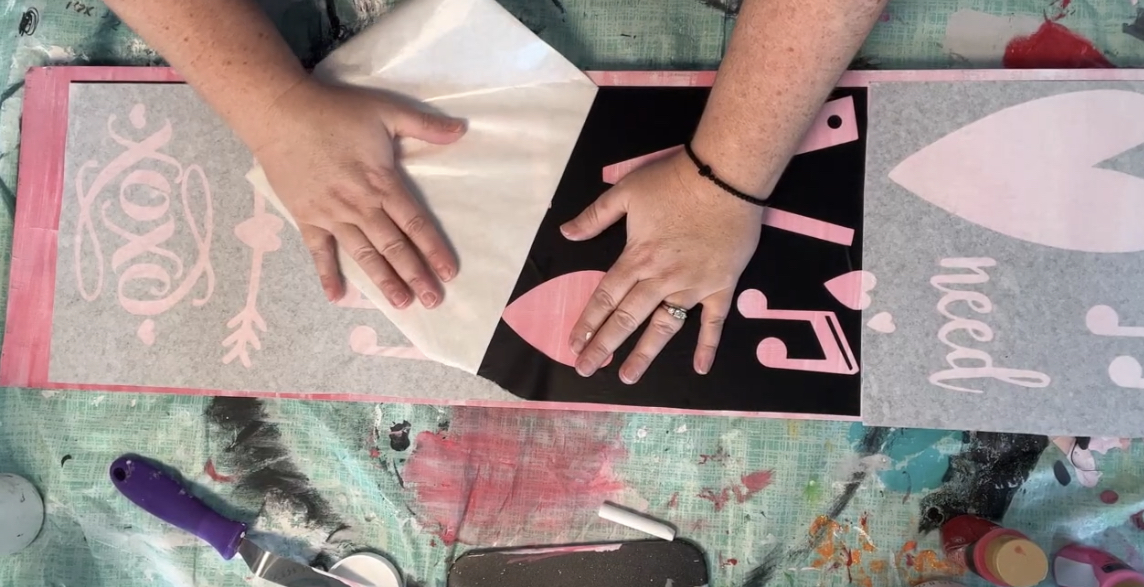
I used a little heart in the design to make it easier to line the pieces up when applying the stencils to the board. You can see where I sliced the design in the image below.

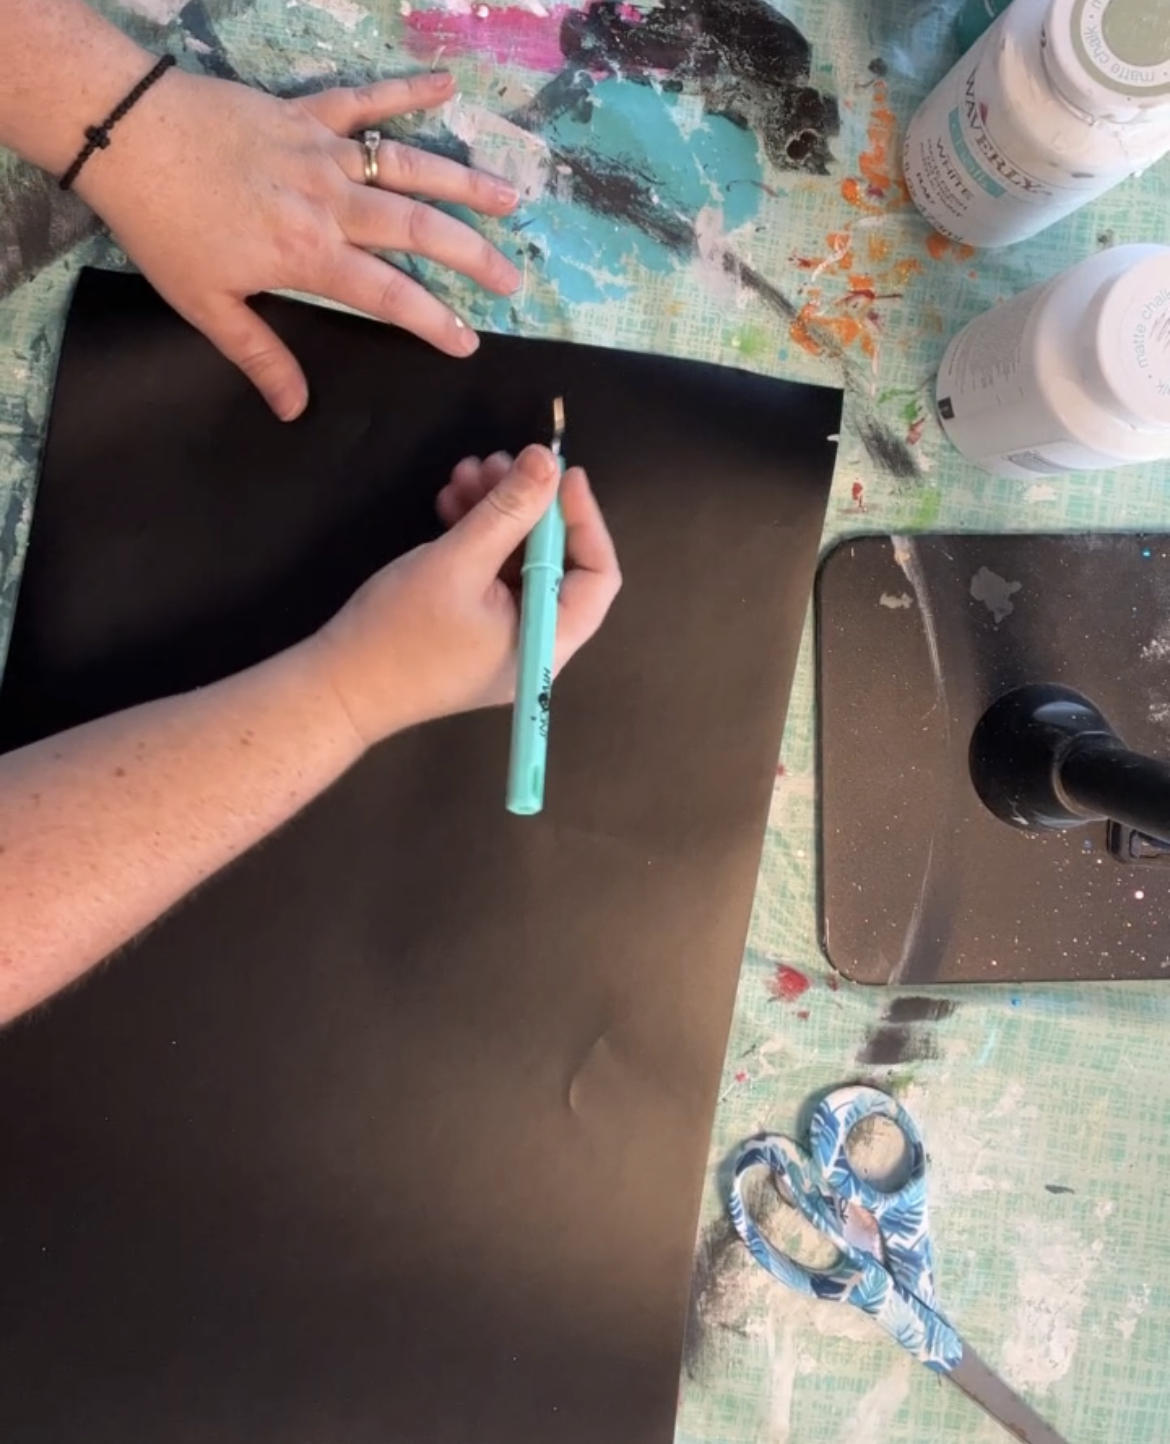
I got my stencil cut with my Cricut Maker (but stencils can be cut with the JOY, Explore, Explore Air, Explore Air 2, Explore Air 3 Maker and Maker 3 machines) weeded and taped and then I was on to the fun stuff...PAINTING!🎉
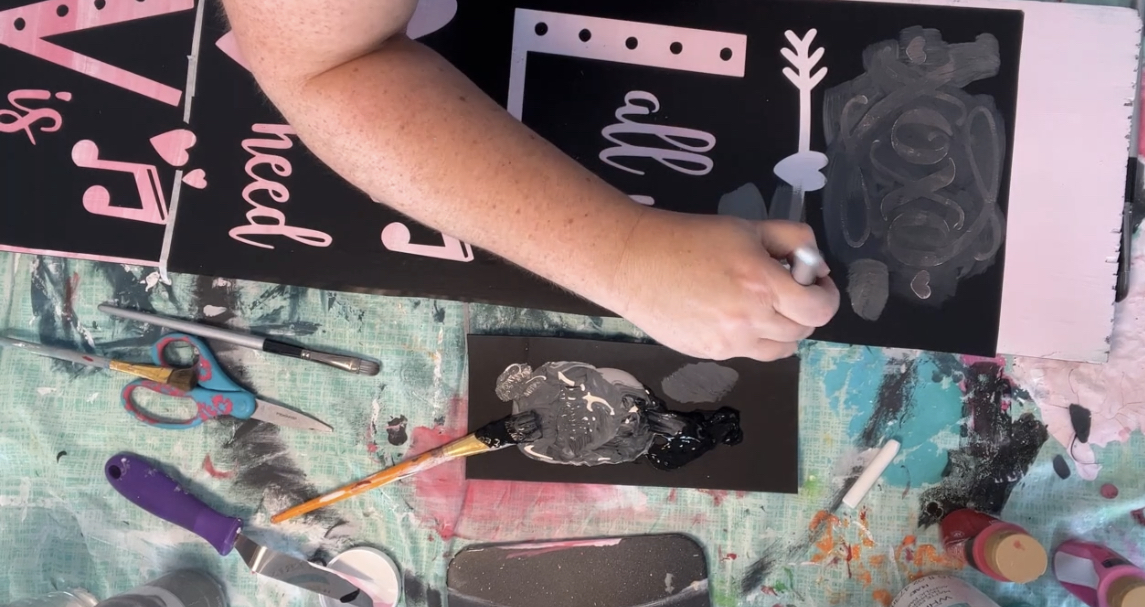
I created an ombre pink finish on the background but I started with a white base coat so those pinks would really pop!


You'll want to let that background paint dry super duper well so the vinyl sticky stencil does not pull up any of that paint. Also, it's important to paint in light layers instead of heavy coats. This allows your paint to dry faster and more completely. Plus you'll just get a smoother, more even finish.
If you are using chalk based paint, be sure to continue to mist with water as you work and use a damp brush when you are creating the background finish. DO NOT use a damp brush when stenciling because the paint will bleed under the stencil.
The porch leaner is unique in that it is a larger sign, so you’ll want to make sure you line up your two stencils before you place them on your painted board. Once you make sure your edges are even on the top portion of your stencil and press it down, you can easily line up your bottom stencil and complete your sign!
#1. Pull the backing off of your stencil first. It should be grid side up when you are pulling it off so you are left with the sticky side of the stencil facing up. It's easy to confuse the transfer tape with the backing so just double check before you start peeling.
#2. Once the paint is dry you can go ahead and position your stencils on the board. Notice in the pic below that the separate pieces of that little heart helped me line up my stencils perfectly! That is a simple way to be sure your two pieces come together seamlessly. 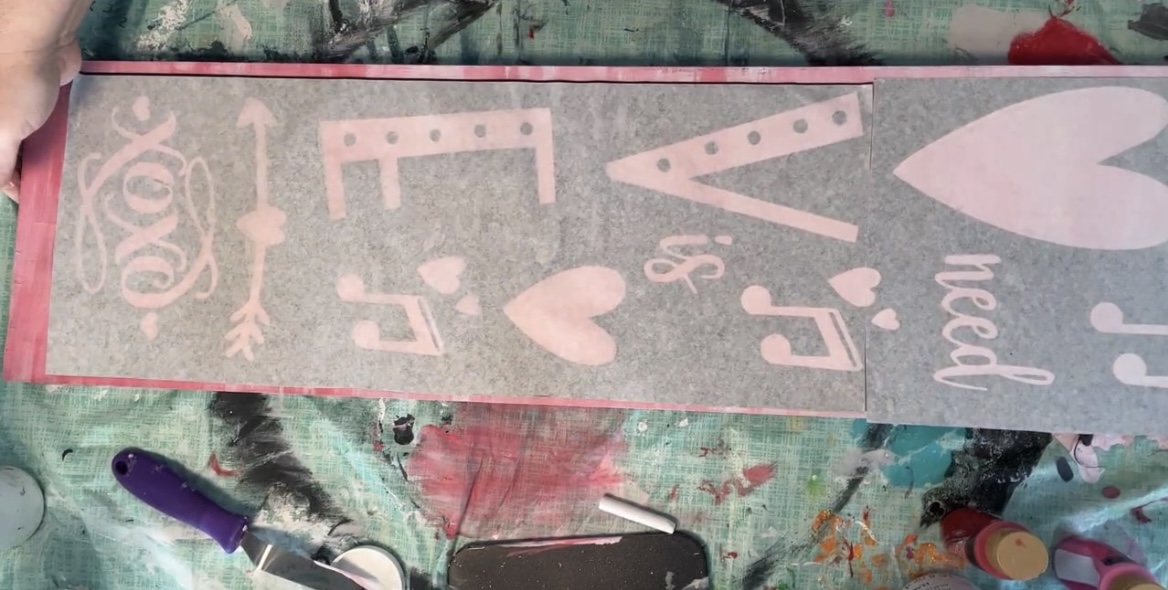
#3. Now that the stencil is stuck to the board, it's time for the transfer tape to come off. I start in the corner and slowly wiggle the tape off of the vinyl. As you peel back your paper tape, you’ll want to push down as you’re pulling it off and come at an angle. It makes things a little easier if you give it a little wiggle as you pull it. Leaving behind my stencil design, including the areas that are inside all of my lettering. I did that with both pieces until all that was left was the stencil on the board.
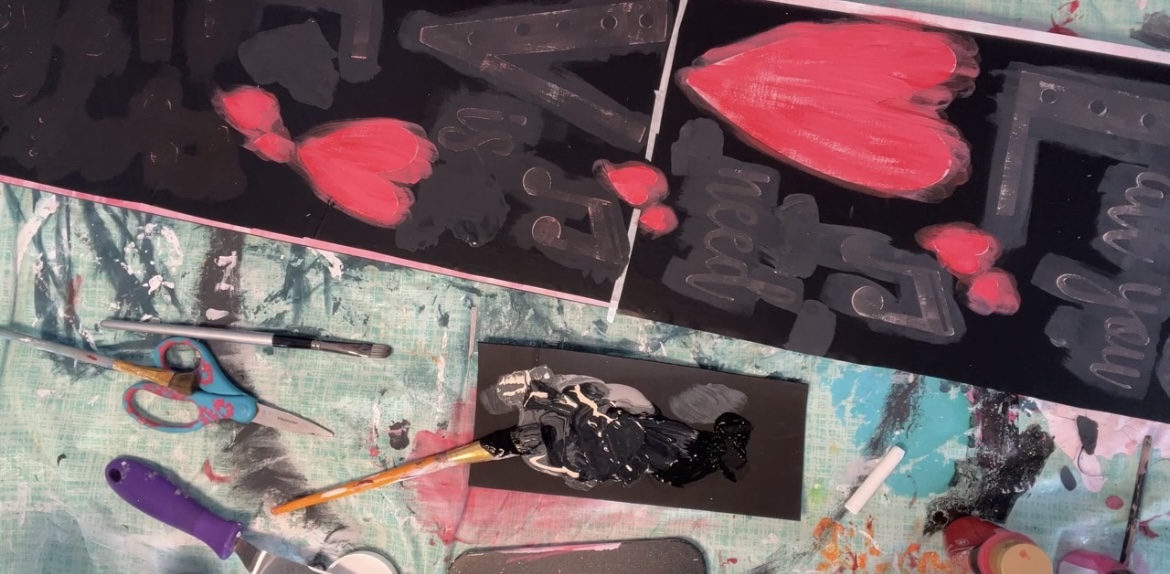
#4. The real fun begins when I dip that brush into the paint and start stenciling because that's when the design starts to come to life.
Some important things to keep in mind...
- Less is more with your paint-you can always go back over with a second light layer
- Using any brand of chalk based paint will help prevent bleeding
- Use a BONE dry brush when stenciling
- Enjoy the process!!
Now that the stenciled areas have all been painted and the paint is DRY, it's time to pull up the vinyl stencil and watch the magic happen! If some of your paint starts to pull up, simply go a little slower and pull it off the OPPOSITE of the grain of the wood on your board.
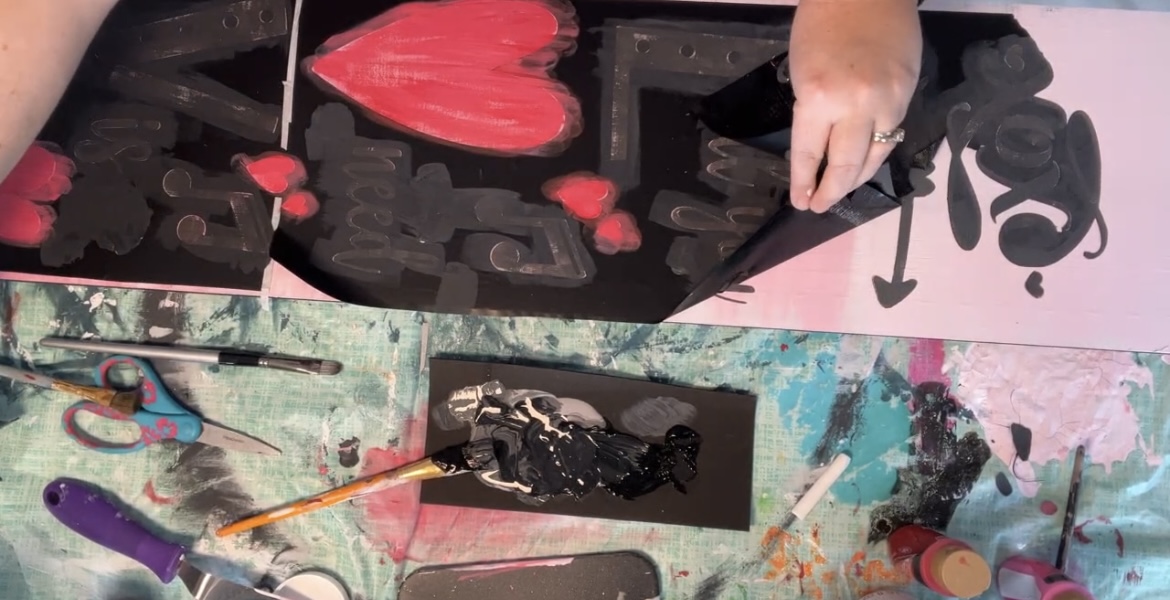
You can weed all those little pieces that are left on the board after you pull the larger pieces off and then...viola! You've got a stenciled valentine porch leaner!
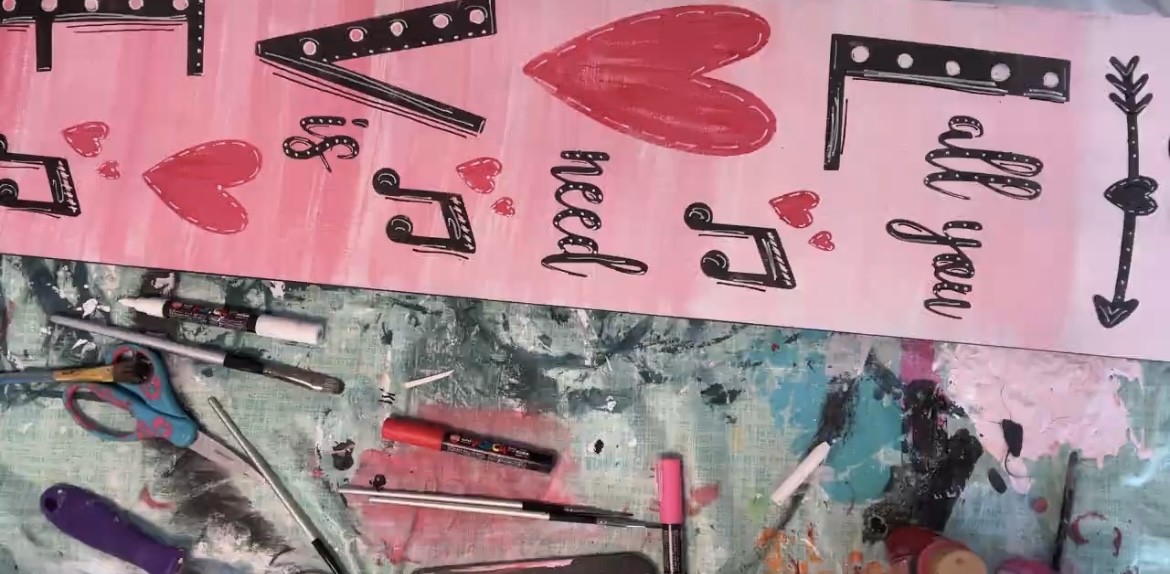
I love to add loads of little, quick details to my signs with Posca Pens. You can get my favorite multipack HERE. You can see all the fun white and black details if you look closely at the pic below. It's really just a series of dots and lines so it's even easy for me and I don't have a super, steady hand. Do you think these little details make the design pop?
I hope this blog post has given you some confidence for trying to create larger stencils with your Cricut so you can start knocking off all the pretty porch leaners off of your list! This one is definitely one of the most popular to create inside the DIY Decor Makers membership for Valentine's Day ❤️

The full tutorial for this stenciled porch leaner is part of my DIY Decor Makers Membership.
*If you are a DIY Decor Maker member, the complete tutorials, svgs and supply list for this project are inside your member site under "winter signs" category😉
Enjoy the journey of creating!
Reta Frekot
Owner of Picked and Polished
Creator of DIY Decor Makers Membership
Here's a great example of why focusing on ONE TYPE OF Cricut Project at a time matters⬇️.

Author

Reta Frekot
Welcome!
I'm so happy you are here! I help women just like you how to use a Cricut Machine to create stencils and painted signs WITHOUT feeling afraid to get started, so you can make custom stenciled signs to decorate your home, give as meaningful gifts or even to sell!

Affiliate Disclosure
I participates in various affiliate programs. If you click on a link and end up making a purchase from that site, we (me and my little family) may receive a small compensation, at no extra cost to you. I share these resources because these are products I use and love and I think you'll love them too!
Recent Posts
