
4 Reasons Your Stenciled Sign Didn't Turn Out How You Hoped
Are you trying to create beautiful signs with your Cricut but keep getting bleeding under your stencils? You are not alone! There’s nothing more frustrating than working really hard on a sign project using vinyl, stencil vinyl, or mylar, and then getting finished and seeing that you have lots of bleeding and touch ups to do. Today I’m sharing the four main reasons that you’re getting bleeding under your stencils and what you can do to prevent it!
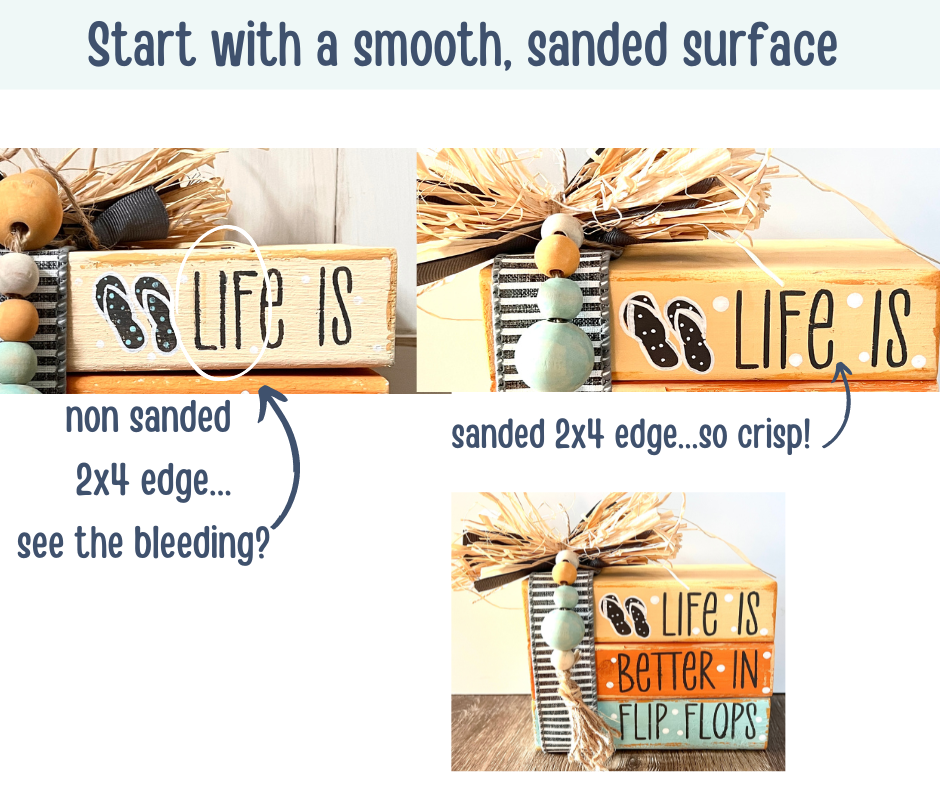
- The surface is too bumpy.
If you are just starting out with sign making and want to be successful right out of the gate, it’s really important that you start with a piece of wood that is pretty smooth in general. If you do find yourself creating a sign on a slightly bumpy surface, keep reading to learn how you can still avoid the bleeding.
- You’re using the wrong type of vinyl.
A common mistake beginners make is choosing Cricut stencil vinyl because they think, “I have a Cricut, and I want to make a stencil.” Makes sense right? The problem is, the vinyl from Cricut doesn’t adhere well enough. When you try to apply it to your wood, it doesn’t create the best seal. The best vinyl I’ve found is 631 oracle vinyl. It’s under the removable vinyl category and is by far the best vinyl I’ve used for creating Cricut stencils along with the Vinyl Ease Paper Tape. Hundreds of my DIY Decor Maker members also use it and love it!

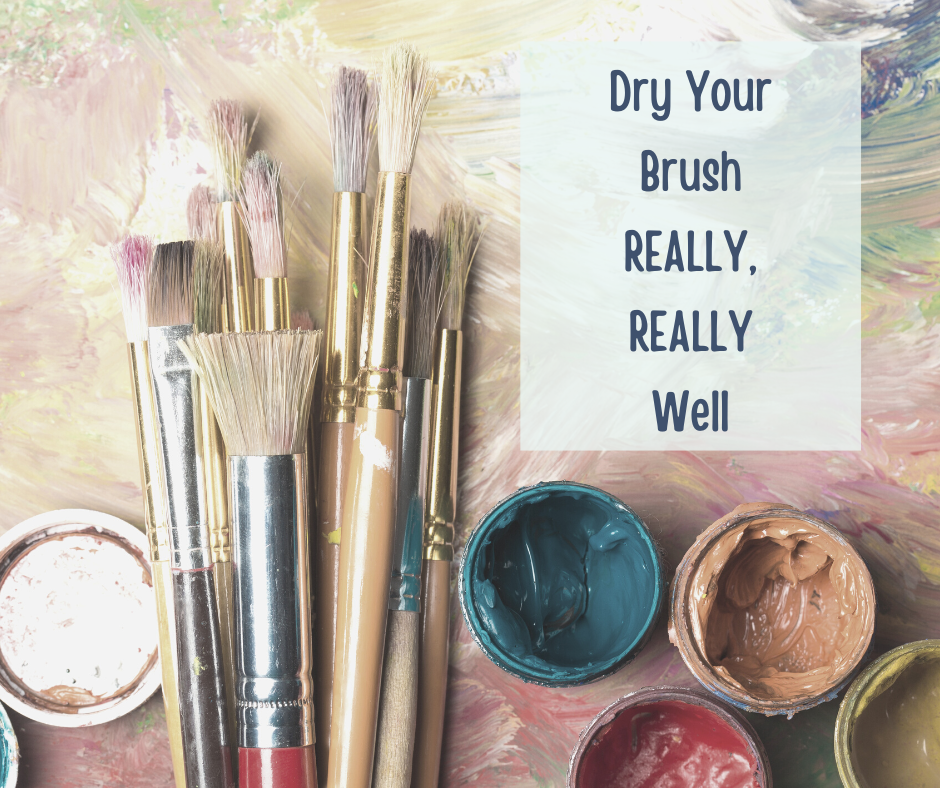
- Your brush isn’t dry enough.
You may think your brush is dry, but what happens when you wash your brushes is the water hangs out in the handle part and as you’re stenciling, your paint is getting wet and thins out, which makes it easy to bleed under your stencil. Having a super dry brush is very important if you want to prevent bleeding.
- You’re using thin, watery, acrylic paints.
The thicker your paint is, the less bleeding you will have under your stencils. Make sure you use a chalk-based paint such as Waverly chalk-based paint, Folk Art Home Decor chalk-based paint, etc. These can be found at Walmart, Amazon and craft stores. The brand of paint isn’t as important as ensuring that you are using chalk-based paint.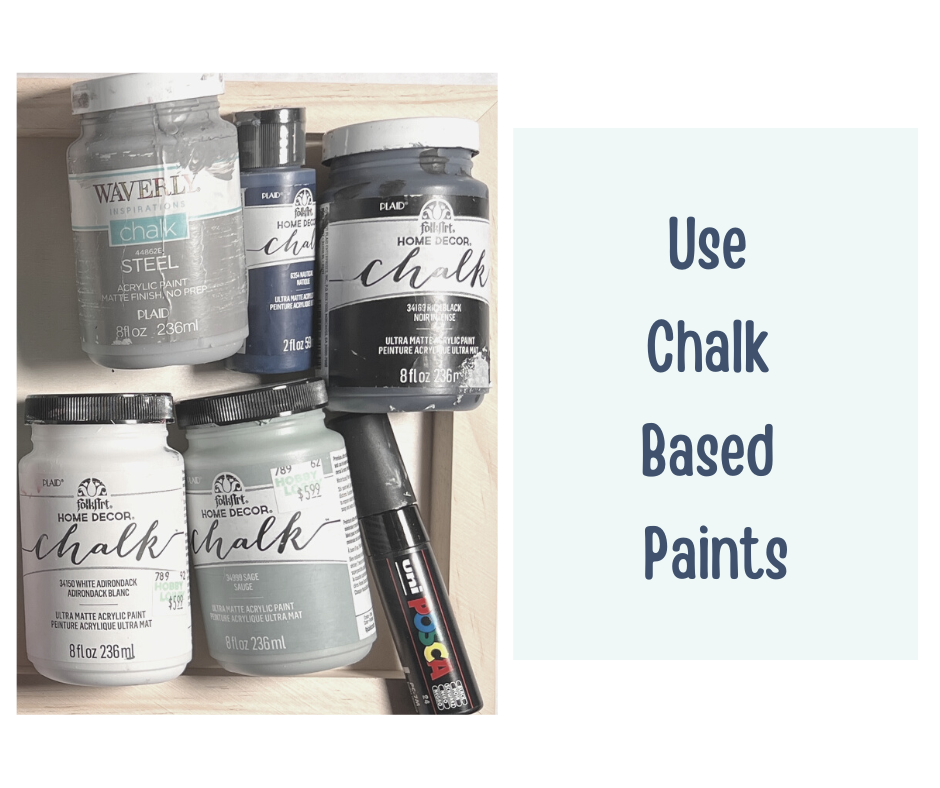
Okay, let's recap – your wood has a nice smooth surface, you’re using 631 oracle vinyl, you have a super dry brush, and you’re using the best chalk-based paint. You’ve set yourself up for success! Now, as you paint your stencil, be sure to offload your paint onto a separate surface as you go. It’s always better to do two very light coats that you feather and pounce than doing one heavy coat. Less is more!
If you follow all of these tips, you will end up with nice clean lines and perfectly crisp signs that are ready to sell or display in your home! I hope you found this information helpful.

I love helping women dust off their Cricut machines to make decor on a budget with paint and stencils! Don't miss my FREE workshop HERE where you'll learn everything you need to get started with your Cricut and sign making without feeling so overwhelmed.
Happy Sign Making!
Reta Frekot
psst...If you are a DIY Decor Maker Member, you can find the stacker project in the image above on our member site under the "spring/summer signs" category
Author

Reta Frekot
Welcome!
I'm so happy you are here! I help women just like you how to use a Cricut Machine to create stencils and painted signs WITHOUT feeling afraid to get started, so you can make custom stenciled signs to decorate your home, give as meaningful gifts or even to sell!

Affiliate Disclosure
I participates in various affiliate programs. If you click on a link and end up making a purchase from that site, we (me and my little family) may receive a small compensation, at no extra cost to you. I share these resources because these are products I use and love and I think you'll love them too!
Recent Posts
